
You’ve spent countless hours perfecting your product and its branding. The design is finalized, the colours are chosen, and you have a clear vision for how your package should look on the shelf. The final step is bringing that vision to life with vibrant, crisp printing. But how does your digital design file become a stunning physical package? The magic happens in a process called flexographic plate-making.
In this blog, we’ll break down what flexographic plate-making is and walk through every step of the process. You’ll discover how digital artwork becomes the physical plates that bring packaging to life, why each stage is essential for final print quality, and what makes this process a cornerstone of great flexographic printing. As a preview, we’ll also mention plate mounting—the next key phase, which we’ll cover in a future post.
What Is Flexographic Plate-Making?
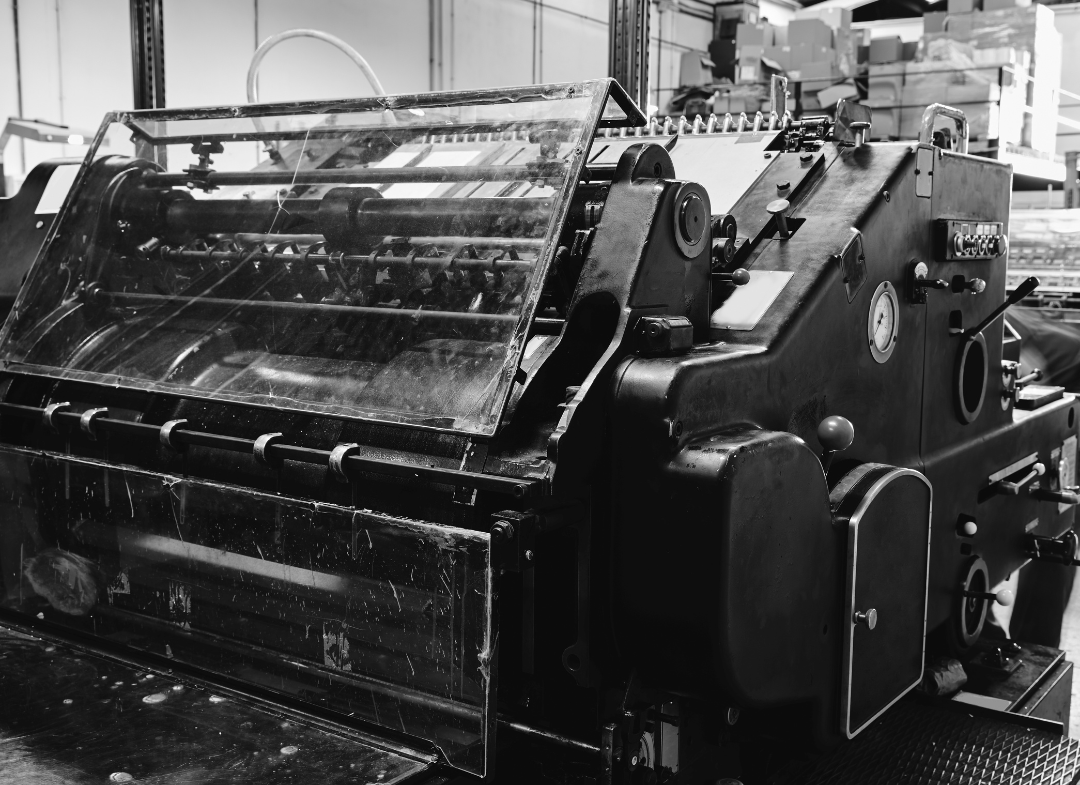
Flexographic plate-making is a process that transforms digital packaging artwork into durable, flexible plates used on a printing press. These plates carry your unique design and transfer ink onto a variety of materials, such as films, foils, and paper. As a result, the process is essential for producing high-quality, repeatable results in packaging, and the precision at each step can make a noticeable difference in the finished product.A Step-by-Step Guide to Plate-Making
1. Preparing the Digital Design
To begin, the journey starts with a finalized digital design file, usually created in specialized graphics software. This file is reviewed and optimized to ensure all colours, images, and details are ready for printing. During this stage, colour corrections, file separations, and resolution checks are all part of this vital stage to guarantee the best possible reproduction.- Why it matters: Any errors or oversights here will be repeated in every printed package. Careful prep ensures accuracy from the start.
2. Imaging the Plate
Once the design is ready, the next step is to transfer the image onto plate material—most commonly a photopolymer sheet. Using a high-resolution laser imager, the digital artwork is etched into the plate surface. This technology captures even the finest details, making sure elements like small text and delicate graphics appear crisp and clear on the final print.- Why it matters: The laser’s accuracy is crucial for sharpness and detail, directly impacting the clarity of your packaging’s graphics.
3. UV Exposure
After imaging, the plate undergoes controlled exposure to ultraviolet (UV) light. The UV light hardens only the imaged sections of the plate, forming raised areas that will later hold ink. Both the front and back surfaces of the plate may be exposed to precisely control plate thickness and relief height.- Why it matters: Proper exposure sets the relief depth, which influences how ink transfers to the packaging material. Uniform relief produces consistent, high-quality prints.
4. Washout
Subsequently, after exposure, the plate is washed to remove the unexposed, unhardened photopolymer. This step reveals the relief—the raised image of your design—which will carry ink during printing. Modern washout machines use water or specific solvents and are gentle enough to retain sharp details while thoroughly clearing away unwanted material.- Why it matters: Clean, well-formed relief images are essential for accurate ink transfer, colour fidelity, and edge definition.
5. Drying
Following washout, the washed plate must be carefully dried to remove any residual solvent or water. Controlled drying ensures the plate reaches optimal hardness and flexibility, ready for the next stage of production.- Why it matters: Proper drying prevents distortion or dimensional changes in the plate, helping maintain precise alignment and print quality.
6. Post-Exposure/Curing
Next, a final UV exposure, often using both UVA and UVC wavelengths, further hardens and stabilizes the plate. This “cures” the plate, making it durable enough for long print runs.- Why it matters: Complete curing prevents surface tackiness and extends plate life, ensuring quality printing from the first impression to the last.
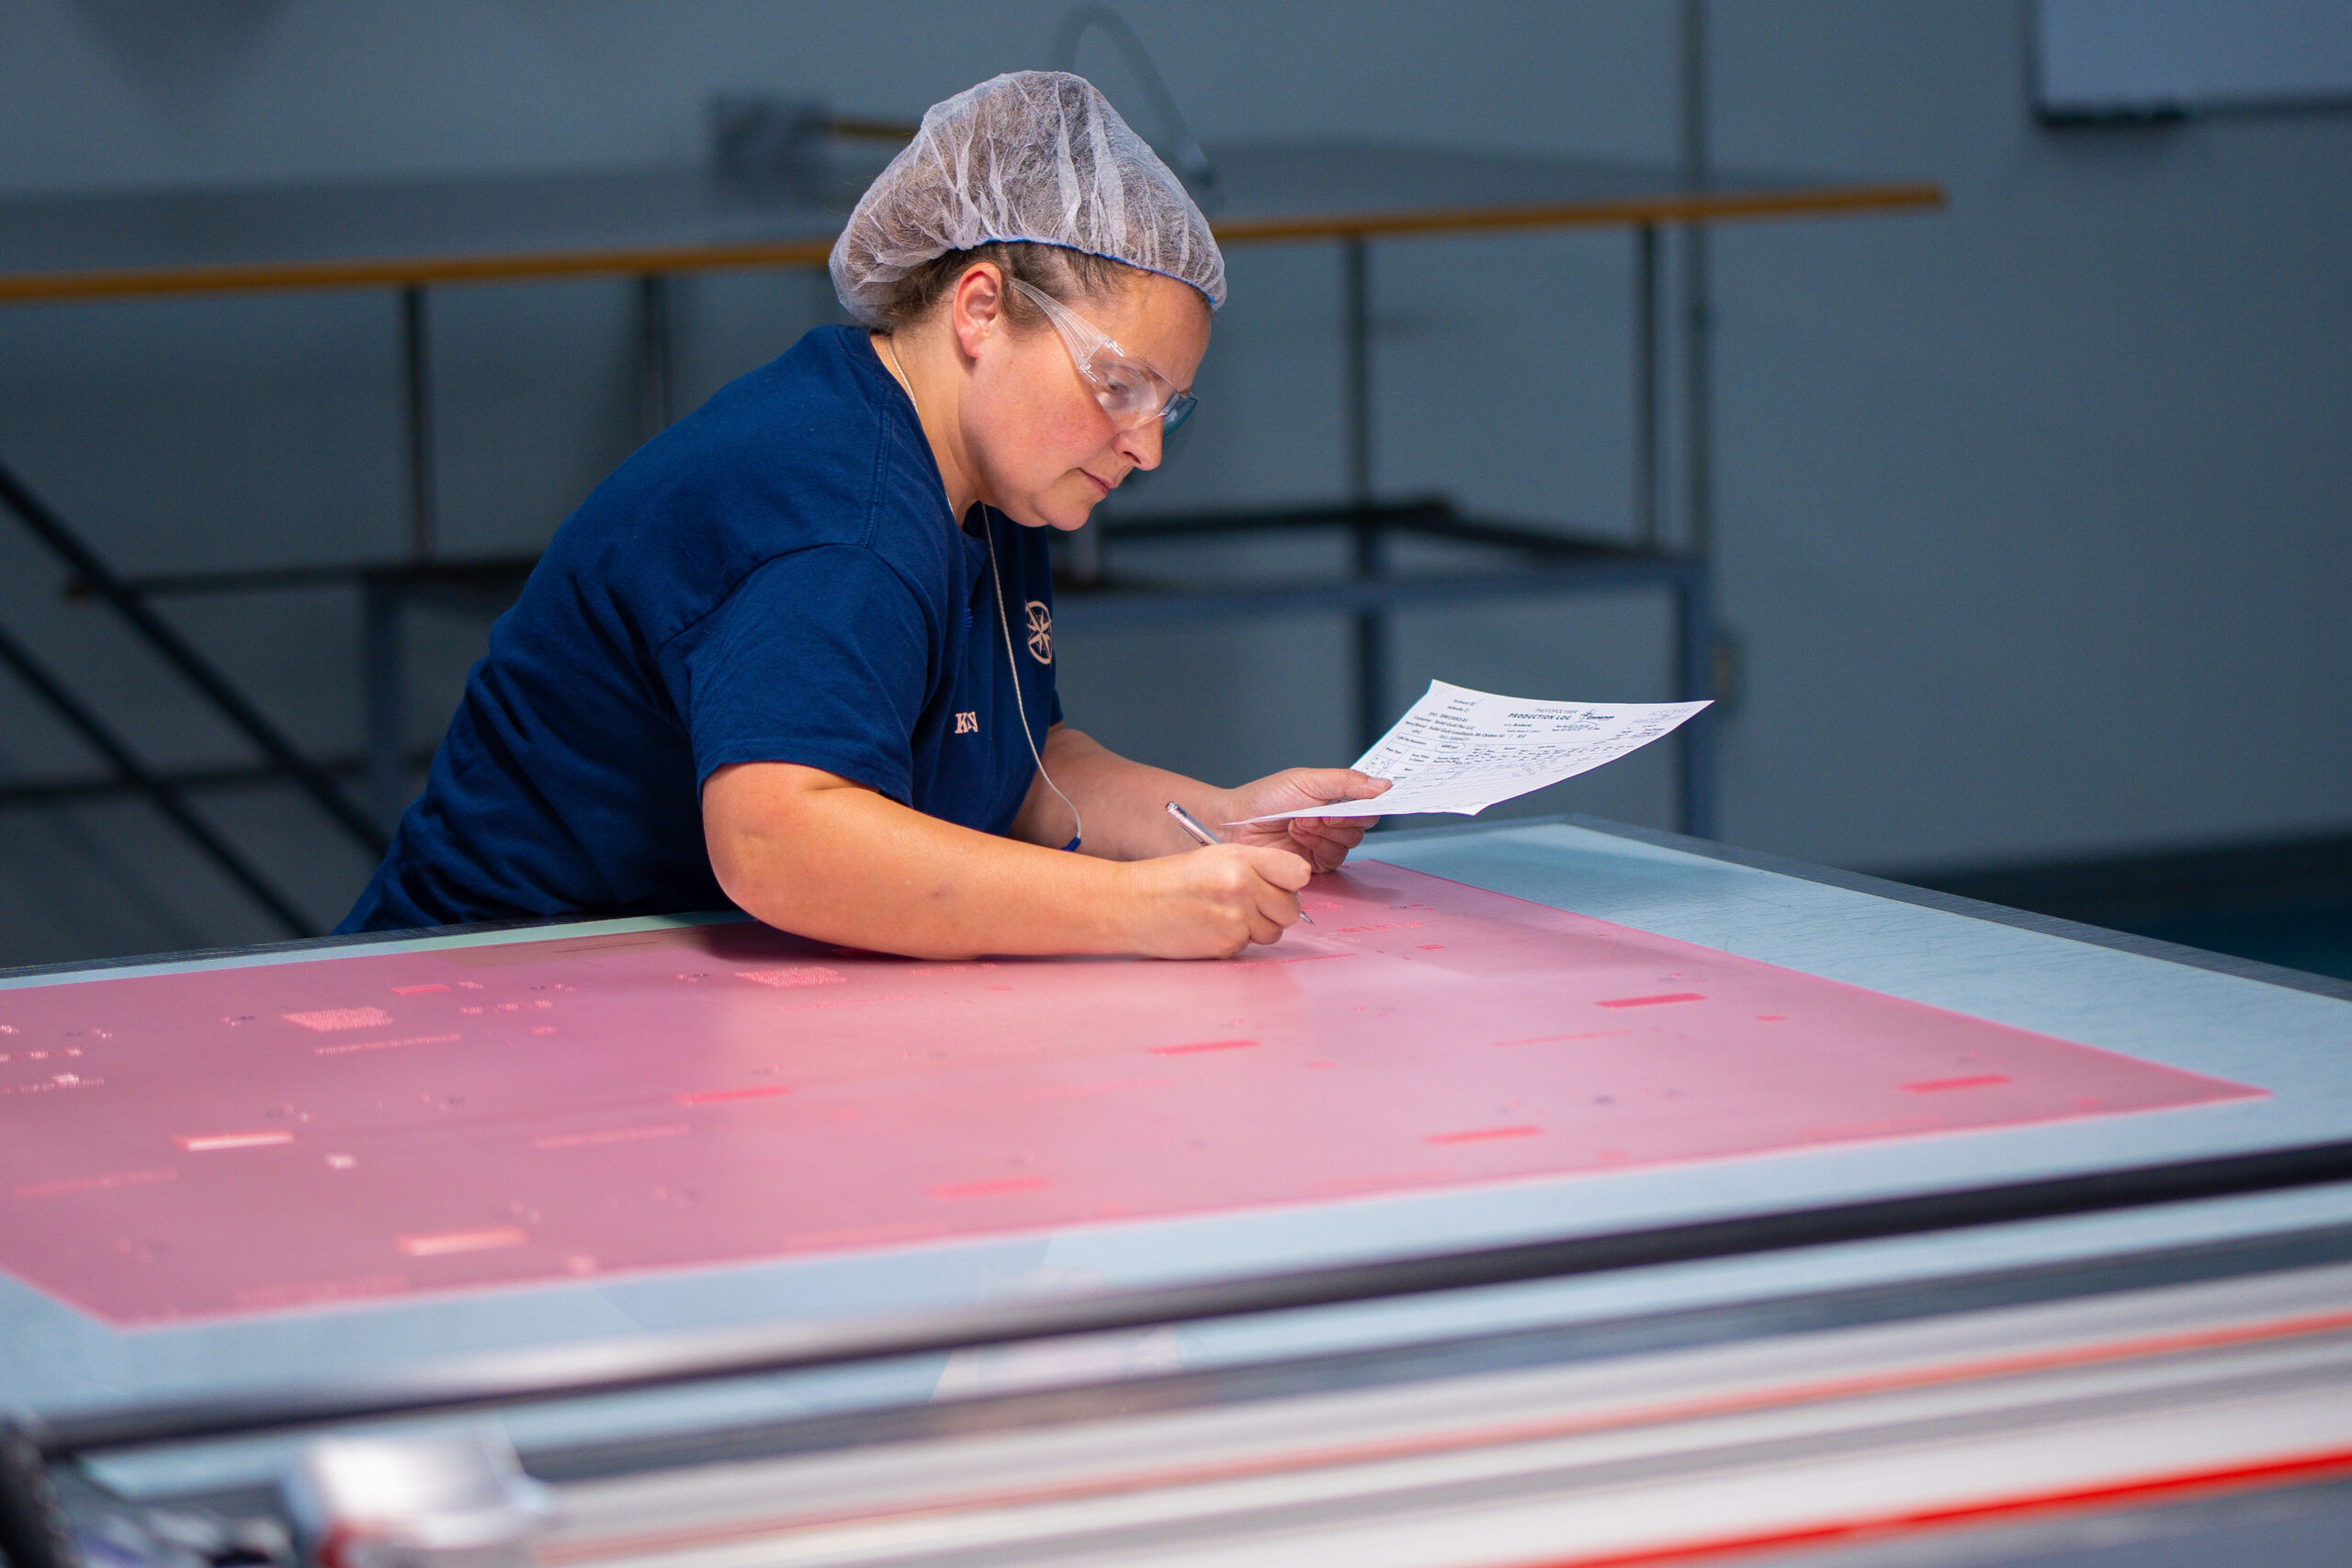
7. Finishing Touches and Inspection
Finally, at the end of the process, plates are inspected for defects or inconsistencies. Thorough inspection safeguards against future print issues and maintains a high-quality standard.- Why it matters: Catching errors early prevents costly reworks or wasted materials during production, leading to smoother, more predictable packaging results.
What Comes Next: Plate-Mounting
After plate making, the plates are mounted onto printing cylinders in a precise position, so images align perfectly during printing. A future blog post will explore plate-mounting, including tips for accuracy and how the process impacts final print quality.Why In-House Plate-Making Matters
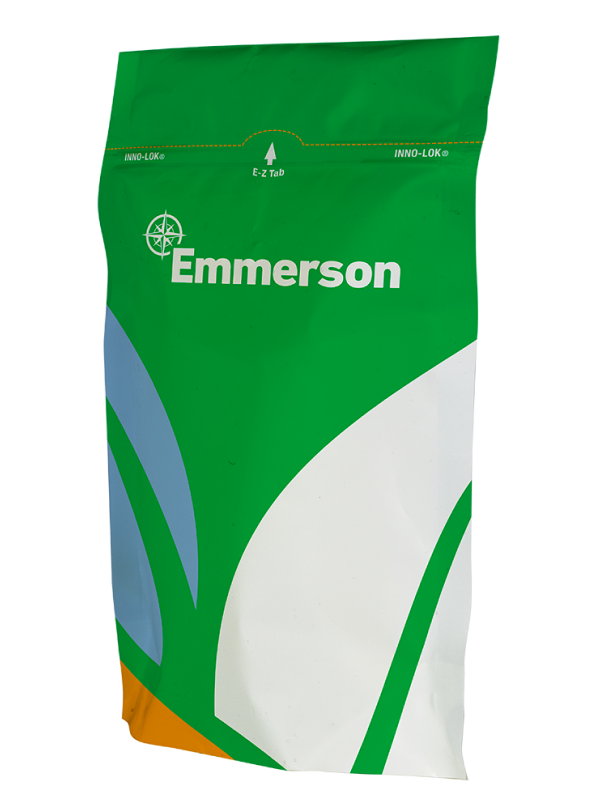
If you’re wondering how all these steps come together for truly outstanding packaging, that’s where in-house plate-making—and Emmerson Packaging’s capabilities—make a difference. By handling plate-making under one roof, Emmerson Packaging ensures tight quality control, faster turnaround times, cost efficiency, and reliable delivery. In-house expertise means every plate is customized and carefully checked, reducing delays and producing consistent, high-impact packaging that matches your brand vision.
In short, understanding the plate-making process helps you see how meticulous preparation leads to success on the shelf. For the next step in the journey, keep an eye out for our upcoming blog on plate-mounting and its crucial role in perfect print alignment and packaging excellence.
If you’re ready to experience the benefits of in-house plate-making first-hand, contact Emmerson Packaging today to discuss your next project or learn more about our customized packaging solutions. Our team is here to help you achieve quality results, every time.